My son wanted to be a Minecraft Creeper for Halloween. I could not really find a costume like this, so I decided to make one myself. I am not a crafty person at ALL, so I figured this would be quite a challenge. It was time consuming, but not really too difficult. What I am saying, is if I can do it, your child could probably do it. Haha. First, you will need several boxes that will fit over your child. The box for the body needs to be rectangular and fit over the body. The box for the head, should be squared, and close to the size of the box for the body.
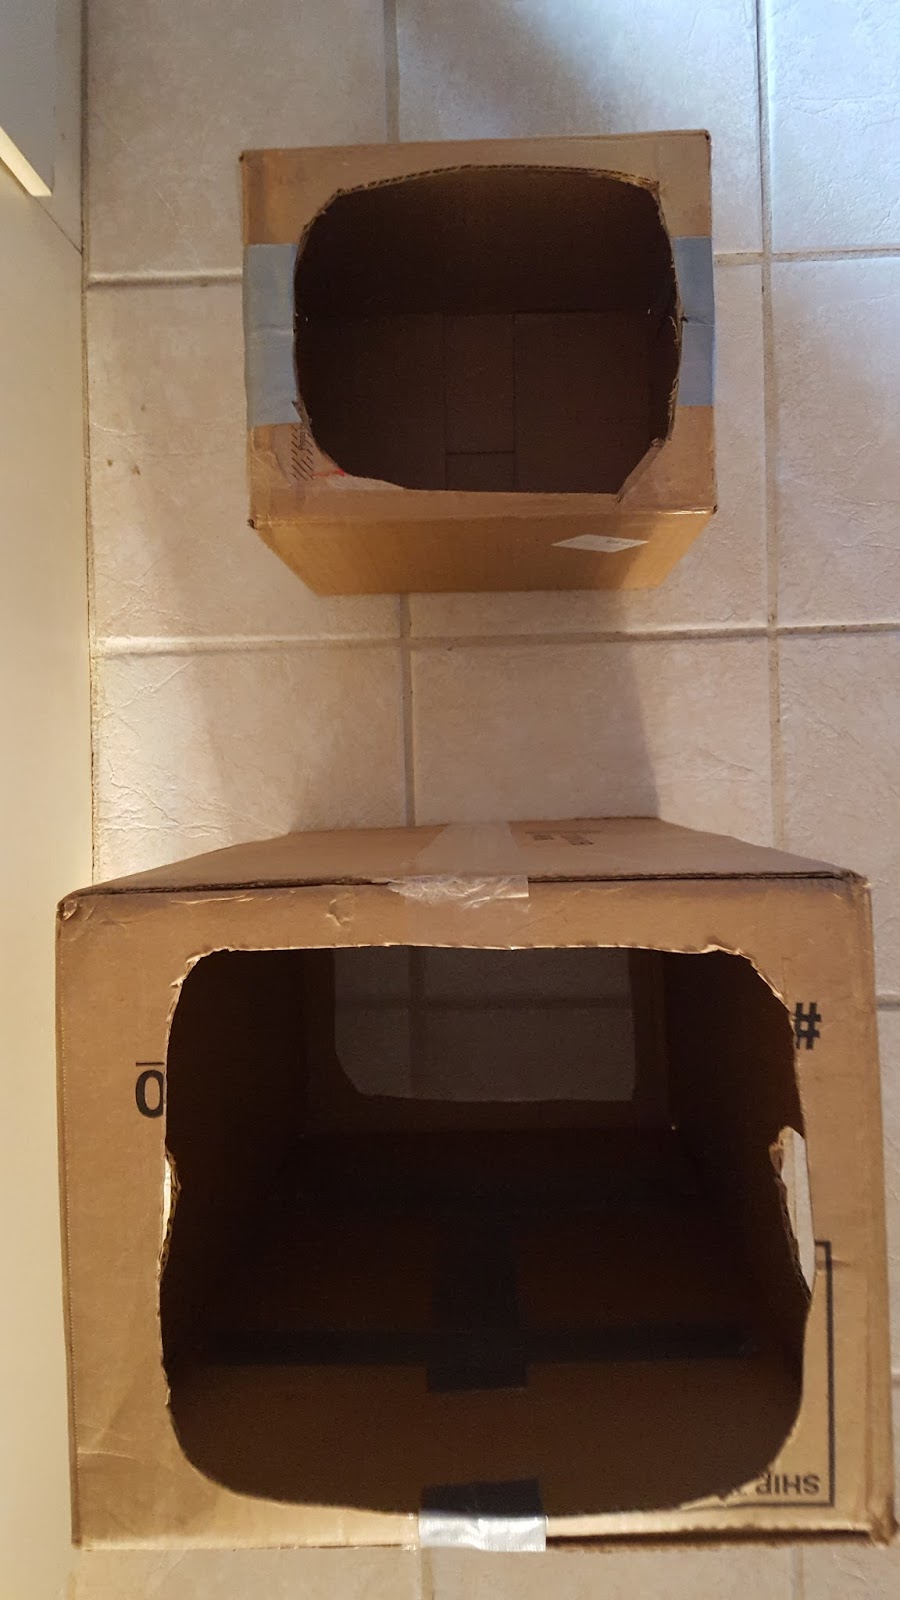
Once you find the right boxes, seal the flaps with duct tape, inside and out, and cut out the top and bottom of the body box and be sure it fits over your child.
Next cut out the bottom of the head so it can fit over your child's head.
Next, you will need to cut arm holes. I had my child get into the box and marked the placement for the arms with a pen and cut out. You may need to adjust for a better fit.
Here is the inside of the box with the tape holding the flaps, so they do not rub the child.
My son trying on the body for the correct fit.
Be sure everything fits correctly. This is very important before you go any further.
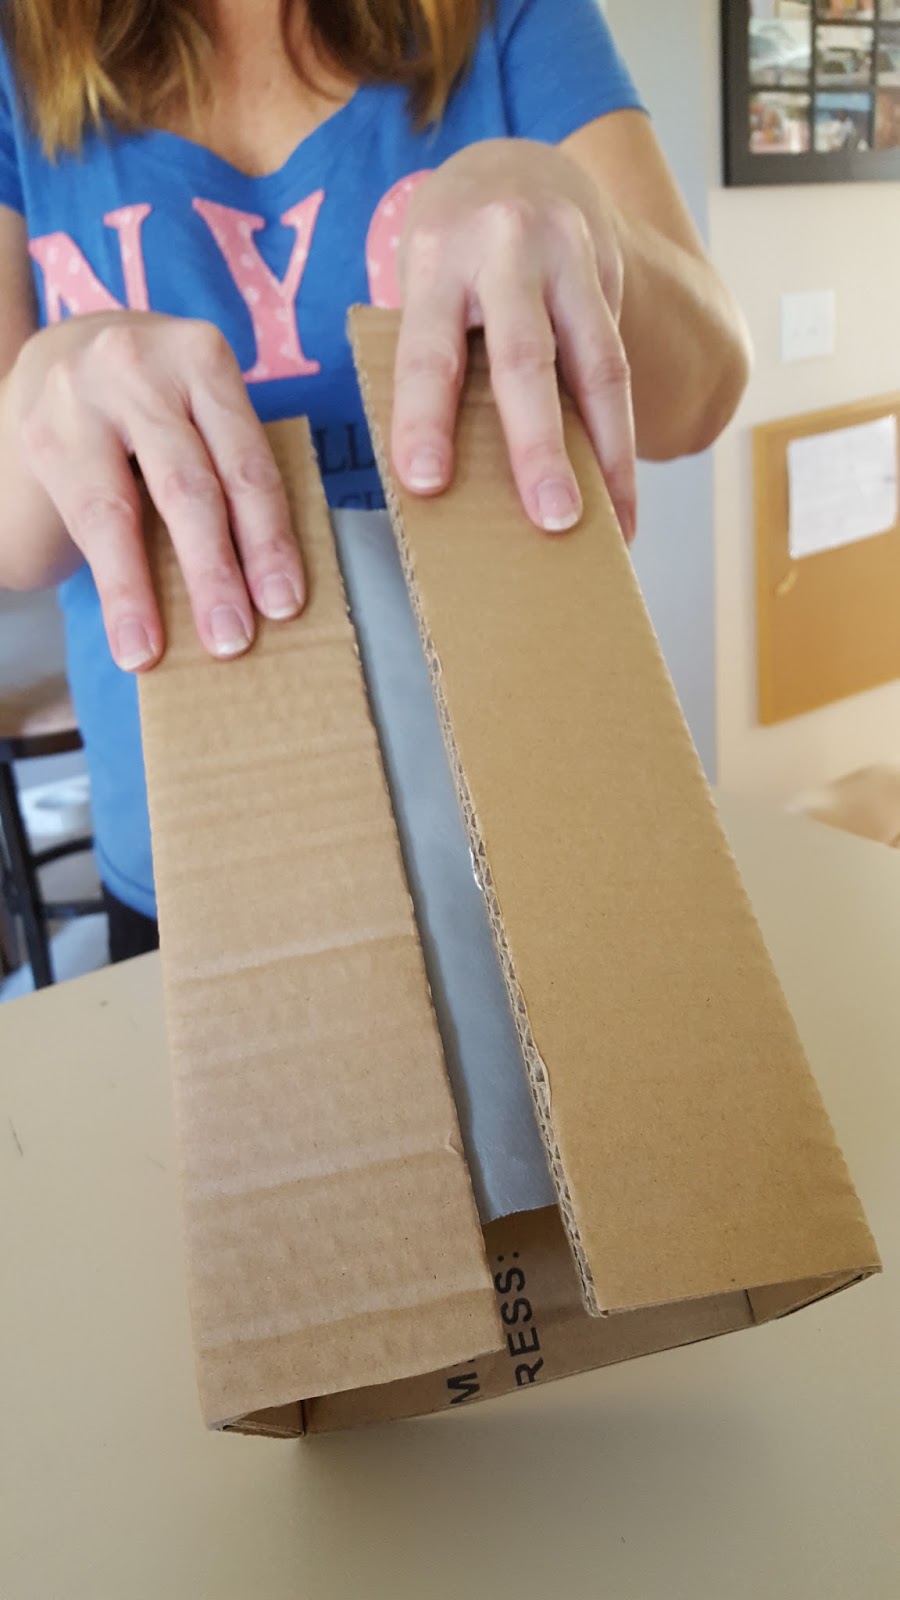
Next you will need cardboard for the legs. I used flaps from another box.
The flaps were folded to make the legs.
I held them closed with duct tape.
For my costume I measured 5 inches across for the front of each leg.
The sides of the legs measured 2 inches.
I marked each leg in several places.
Once all of the dots are measured,
I scored the cardboard with a pen.
This made it easier to bend.
Once all sides are scored, you can fold into the leg.
Make sure your leg looks good,
and place duct tape inside to hold together.
Another view of the duct tape
Measure the top of the leg for the cap.
Cut a piece of cardboard to fit.
I cut 4 pieces of duct tape and had them ready.
Place each piece to hold the cap on the top of the leg.
Finished cap
Repeat until you have 4 legs.
Mark the body with pen or marker, where you decide they will look best.
At first I tried super glue to attach, but this did not hold well.
I decided that duct tape would work better. Roll a little into a circle, to attach to the body of the creeper.
Once attached, I used more duct tape to really secure the legs on tight.
Repeat this with all four legs.
This completes the actual construction of the body.
I then had my son put the costume back on, and gave him a pin to poke out where his eye hole should be. Then cut out the squares for them.
Now you are ready for paint.
To cover the body, I used one coat of green spray paint.
I used a darker green, a medium green, and a white to paint the head and body. Black or brown can be used for the eyes and mouth. This was the most time consuming part of making the costume. I did not have a pattern that I went by. I just winged it. The Creeper pattern is just squares and rectangles arranged all over the body. Sometimes, I used them in an L shape.
Here is the completed costume. Allow to dry.
Have you little one try it out. The costume can be a little tricky to walk in, but my son loved it. He wore his to school and got compliments from students and teachers alike. My husband said when he got out of the vehicle in the morning, kids were yelling across the grounds to him about how cool his costume was. He said the smile on my son's face was priceless. I only wish I could have seen this after the time I spent making it happen. His excitement when he looked at it for the first time made me happy enough. I hope you are successful also.